Why Solo and Squad Play Reward Different Instincts
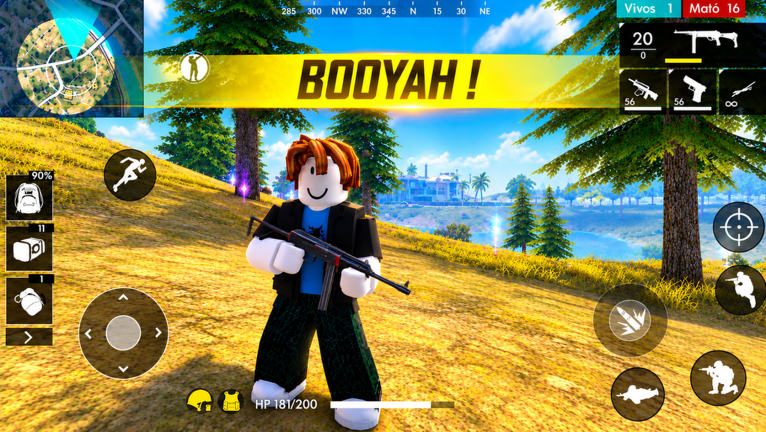
Free Fire Zone is built around fast, adrenaline-pumping battle royale rounds where players drop onto an island, grab weapons and gear, and fight to outlast rivals in roughly 10 minutes. That short clock is exactly why your decisions as a solo player cannot be copied directly into a four-person squad. When you play alone, information and positioning matter far more than taking every available fight. When you play with friends, the value of information multiplies, but so does the cost of one bad purchase or one exposed rotation.
The two pillars that decide almost everything in Free Fire Zone are the safe zone and the Gloo Wall. One defines where you can survive, the other defines what cover you can manufacture when the map offers none. This guide breaks down how to use both differently depending on whether you are queuing solo or squad, with extra attention to the EP system, Inhaler economy, and Clash Squad round planning.
The Core Differences Between Solo and Group Approaches
Solo play in Free Fire Zone is a game of angles you have to watch yourself. Squad play is a game of angles your team has to cover together. Three practical differences stand out:
- Exposure: Rotating straight into the middle of a shrinking zone leaves a solo player exposed to several squads approaching from different directions. A squad can split the observation duty, but only if members do not stack on the same line of sight.
- Healing loadout: Alone, your HP and EP buffer is entirely personal. In a group, one teammate carrying extra Inhalers for a revive mid-rotation can matter more than extra ammunition.
- Cover creation: A single Gloo Wall can isolate one enemy for a solo player. For a squad, the same Gloo Wall is a mini-wall that shields a whole revive.
Best Strategies When You Are Playing Alone
Skirt the Safe Zone Edge, Do Not Rush Its Center
Staying inside the safe zone is mandatory, since remaining outside deals damage that can wipe you out. The stronger play is to skirt the edge of the zone as it contracts toward the center of the map. Edge play maximizes your looting path, gives you a predictable direction of travel, and reduces the number of angles you must watch to those ahead and slightly to the flank. Do not automatically rush toward the center of the safe zone as soon as it appears. Moving straight into the middle can leave you exposed to several squads approaching from different directions, and as a solo player you have no one to watch your back.
Rotate Along the Zone Edge With Pre-Built Cover
Positioning beats aggression. Loot efficiently, rotate early when the circle forces you, and make sure you carry enough healing and Gloo Walls for the final stages. Before you cross an open stretch along the zone edge, pre-place a Gloo Wall so you already have instant cover if someone starts shooting during the rotation. Gloo Walls are the item that turns open terrain into a winnable fight for a solo player, and they also let you isolate one target by walling off their teammates.
Manage EP Instead of Hoarding Potions
Free Fire Zone has a unique EP mechanic alongside HP. EP is how you regenerate health. After a fight you do not need to burn healing items immediately, because EP can heal you first. You regenerate EP by staying at campfires, by picking a character with an EP regeneration ability, or by using Inhalers. As a solo player, sustaining HP and EP through Inhalers is often more valuable in the final circles than carrying extra ammunition you will never fire.
Keep Moving and Switch Locations Quickly
Campfires and named loot spots attract traffic. Grab what you need, then move. Fast location switches reduce the chance of being pinned while keeping your loot curve ahead of players who linger in one area.
How to Adapt Your Play When You Are in a Group
Inside a squad, the safe zone edge still works, but the rotation should be staggered. One member scouts ahead, two hold the mid line, and the rear watches the flank you just left. Do not stack four players on one Gloo Wall, because a single concentrated burst can wipe the whole team behind it. Place walls in a short chain so each pair of teammates has its own cover.
Inventory logic also changes. Your inventory should be prepared for the late game rather than filled with unnecessary ammunition. Gloo Walls provide instant cover during rotations, revives, and final-circle fights, so assign at least one member to carry extra walls for the team. Keep a healthy supply of Inhalers as well, because sustaining HP and EP in the final circles beats carrying supplies nobody will use.
Role Suggestions for Team Play
- Entry fragger: Takes the first duel, carries fewer Inhalers but places Gloo Walls aggressively to isolate a single enemy.
- Support or wall carrier: Hoards Gloo Walls and Inhalers, deploys them during revives and zone crossings.
- Rotator: Watches the safe zone timer and calls early movement so the squad never has to sprint through the open center.
- Clash Squad buyer: Tracks the team economy so no purchase is wasted on a weak round after a loss.
When to Switch Between the Two Approaches
Switch to solo-style caution whenever your squad drops to two or fewer members alive, since you no longer have the angles to cover. Switch back to group aggression when you hold the zone edge with full HP, stocked Inhalers, and at least two Gloo Walls per member.
In Clash Squad, adapt your mindset from the round instead of the circle. Every purchase should serve a purpose, and you should never sacrifice your team's future equipment advantage simply to force one weak round after a loss. Think about the next round the way a battle royale player thinks about the next circle.
FAQ
Q: Why should I rotate along the edge of the safe zone instead of its center in Free Fire Zone?
Moving straight into the middle of a fresh zone leaves you exposed to squads arriving from every direction. Rotating along the shrinking zone's edge limits the number of angles you must watch, makes your positioning more predictable for your own team, and lets you loot on the way in.
Q: How does the EP system change my healing choices in Free Fire Zone?
EP regenerates HP on its own, so you can recover after a fight before spending healing items. You build EP by staying at campfires, using Inhalers, or running a character with EP regeneration. That lets you save potions for moments when EP cannot keep up.
Q: What should a Clash Squad squad buy after losing a round?
Do not force a weak buy just to contest the current round. Every purchase should serve a purpose, and protecting your team's equipment advantage for the next round usually beats throwing credits away on one desperate fight.
Conclusion
Solo and squad play in Free Fire Zone share the same tools, the safe zone, Gloo Walls, Inhalers, and EP, but they demand different timing. Alone, you win by edging the zone, hoarding cover, and healing with EP. With a team, you win by staggering rotations, sharing wall duty, and buying with the next round in mind. Read the circle, respect your inventory, and let positioning do the work before your crosshair ever has to.
Active Free Fire Zone Codes (October 2026)
No verified active codes yet for Free Fire Zone; 30 unverified codes are being tracked.