Conquering Facility 67: Advanced Strategies for I HATE BRAINROT (April 2026)
Welcome, aspiring brainrot exterminators, to Facility 67! In the intense survival action game I HATE BRAINROT, humanity's last hope rests on your ability to navigate treacherous environments, destroy hordes of mutated brainrots, and ultimately assemble the ultimate weapon to eliminate their source. While the core gameplay of shooting and surviving is straightforward, true mastery in this Alpha 3.1 experience comes from understanding its hidden systems and employing smart, synergistic strategies. This guide will delve into advanced tactics for route selection, optimal upgrade paths, and exploiting enemy behaviors to ensure your runs are not just successful, but dominant.
Unveiling Hidden Systems and Lesser-Known Interactions
Beyond the obvious objective of eliminating brainrots, I HATE BRAINROT features several layers of strategic depth that often go unnoticed by casual players. Mastering these can significantly impact your survival and progression.
The Dangerous Route Calculus
One of the most critical decisions in I HATE BRAINROT is choosing between the 'dangerous' and 'normal' routes presented at various stages. While the 'normal' path offers a safer, more predictable experience, the 'dangerous' route, as its name suggests, ramps up the difficulty significantly. However, this increased challenge comes with a substantial payoff: far greater rewards in terms of epic loot, more keys, and accelerated progression towards assembling the ultimate weapon. Many players shy away from this option, but understanding when and how to tackle it is a cornerstone of advanced play.
Synergistic Upgrade Paths
The game offers a variety of weapon upgrades, including damage, fire rate, and crit chance, alongside essential boosts like health and speed. A common mistake is to pick upgrades randomly. However, the true power lies in understanding how these upgrades synergize. For instance, a high fire rate combined with increased crit chance can lead to devastating burst damage, while a focus on damage and speed allows for effective hit-and-run tactics against tougher brainrots.
Exploiting Enemy Behavior
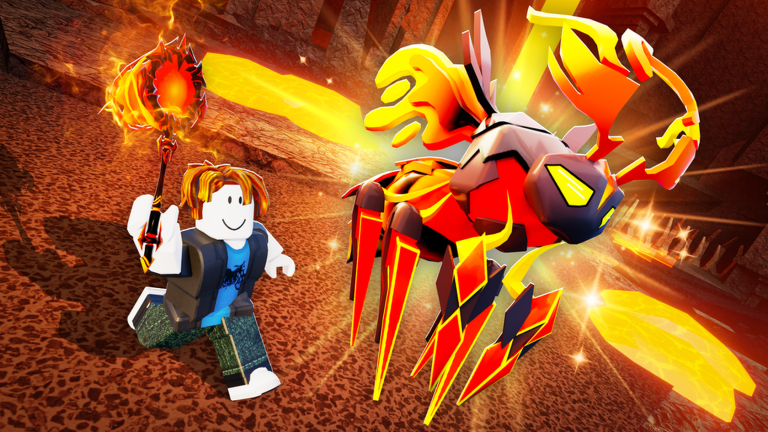
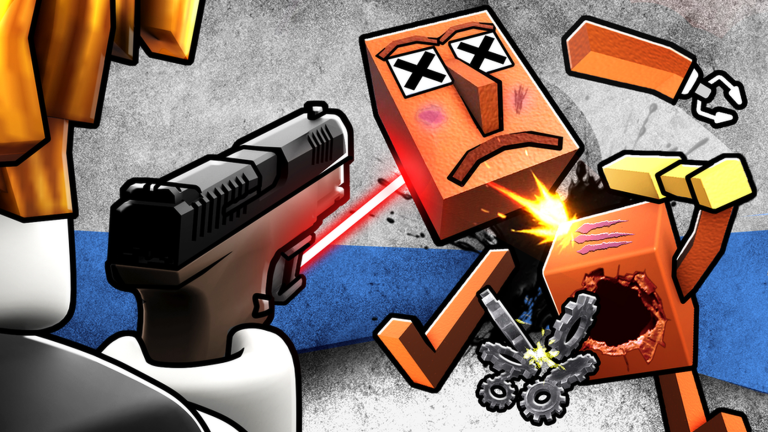
The brainrots you encounter in Facility 67 are not all mindless drones. Different types, such as the fast 'Cappuccino', the explosive '67s', or the formidable 'Mega Tomb' boss, exhibit distinct behaviors and attack patterns. Recognizing and exploiting these characteristics is crucial for efficient combat and minimizing damage. For example, the '67s' are known to explode, requiring players to maintain distance or prioritize them before they can detonate. The 'Mega Tomb' boss, on the other hand, demands careful dodging of its attacks while maintaining sustained damage.
Strategic Key Management
Keys are a vital resource, allowing you to purchase upgrades in 'shop' areas or open 'treasure rooms' for free loot. The timing and allocation of these keys can make or break a run. Should you invest in immediate survivability with health, or push for offensive power with weapon upgrades? This decision-making process is a subtle yet impactful hidden mechanic.
Why These Strategies Matter
Employing these advanced tactics directly translates to faster progression, more powerful character builds, and a significantly higher survival rate within Facility 67. By consistently choosing the optimal path and making informed upgrade decisions, you'll not only overcome the brainrot threat more efficiently but also be better prepared for future updates and challenges as the game evolves through its Alpha stages. Maximizing your efficiency now means you'll be at the forefront of the resistance, ready to adapt to any new brainrot mutations or facility layouts.
Implementing Advanced Play: How to Use These Systems
Mastering the Dangerous Route
- Team Assessment: Before entering a 'dangerous' route, quickly assess your team's collective damage output and survivability. If your team is under-geared or uncoordinated, a 'normal' route might be the smarter play to gather resources.
- Communication is Key: If playing with others, communicate your intention to take the dangerous route and ensure everyone is prepared for the increased challenge.
- Prioritize Threats: In dangerous zones, focus fire on the most immediate threats, especially fast-moving or explosive brainrots like the '67s'.
Optimizing Upgrade Synergy
- Aggressive Builds: For players confident in their dodging and kiting abilities, prioritize 'Damage' and 'Fire Rate' upgrades. Once these are solid, invest in 'Crit Chance' to maximize burst potential. Combine this with 'Speed Boosts' to maintain distance from aggressive brainrots like 'Cappuccino'.
- Defensive Builds: If you find yourself struggling with survivability, prioritize 'Max Health' and 'Health' regeneration. Once you have a comfortable health pool, then focus on 'Damage' to clear threats more quickly. 'Speed Boosts' are also crucial for escaping sticky situations.
- Balanced Approach: Often, the best strategy is a hybrid. Adapt your upgrades based on the drops you receive and the challenges you face. For example, if you get a strong damage upgrade early, you might then pivot to a health boost to balance your build.
Exploiting Enemy Weaknesses
- Explosive '67s': These brainrots are a high priority. Keep them at a distance and burst them down before they can get close enough to explode and deal area-of-effect damage.
- Fast Movers ('Cappuccino', 'Tounon'): Utilize your speed boosts and kiting techniques to keep these agile brainrots at bay while you chip away at their health. High fire rate weapons are excellent for quickly dispatching them.
- Boss Encounters ('Mega Tomb'): The 'Mega Tomb' boss requires learning its attack patterns. Focus on dodging its abilities while continuously applying damage. Don't get greedy with your shots; survival is paramount.
Intelligent Key Spending
- Early Game Survival: If you're taking significant damage early on, spending keys on a '50 Health' boost can be a lifesaver, allowing you to survive longer and gather more resources.
- Mid-Game Power Spike: Once your survivability is stable, invest keys into core weapon upgrades like 'Damage Up' or 'Fire Rate Up' to increase your clearing speed.
- Late Game Refinement: In later stages, use keys to fine-tune your build with 'Crit Chance' or additional 'Speed Boosts' to maximize your effectiveness against tougher brainrots and bosses.
Common Mistakes to Avoid
- Blindly Rushing Dangerous Routes: Entering a 'dangerous' path without sufficient upgrades or team coordination is a recipe for disaster, leading to wasted time and resources.
- Random Upgrade Selection: Simply picking the first upgrade you see without considering its synergy with your current build or the challenges ahead will result in an inefficient and underpowered character.
- Ignoring Enemy Specifics: Treating all brainrots the same will lead to unnecessary damage and slower clear times. Learn their behaviors and adapt your tactics.
- Hoarding Keys: While saving keys might seem prudent, delaying crucial upgrades can make current encounters significantly harder. Invest wisely and regularly.
- Getting Cornered: Facility 67's environments can be tight. Always be aware of your surroundings and avoid getting trapped by brainrot hordes, as this often leads to quick defeat.
Frequently Asked Questions
Q: What are the most important stats to upgrade early in a run in I HATE BRAINROT?
A: Early in a run, prioritizing a balance of 'Max Health' and 'Damage Up' is generally recommended. A small health boost can prevent early eliminations, while increased damage helps clear initial brainrots more efficiently. After securing basic survivability, focus on 'Fire Rate' or 'Crit Chance' depending on your weapon and playstyle.
Q: How do I effectively deal with the exploding '67s' brainrots?
A: The '67s' are dangerous due to their explosive nature. The best strategy is to prioritize them as soon as they appear, maintaining a safe distance while you eliminate them. High damage or fire rate weapons are ideal for quickly dispatching them before they can get close enough to detonate.
Q: Is it always better to take the 'dangerous' route in Facility 67?
A: While the 'dangerous' route offers significantly better rewards, it is not always the optimal choice. It's crucial to assess your current weapon upgrades, health, and team composition. If your team is struggling or under-geared, a 'normal' route to gather more resources and upgrades might be a safer and more effective long-term strategy.
Conclusion
I HATE BRAINROT offers a thrilling challenge for those willing to delve deeper than surface-level gameplay. By strategically approaching route selection, understanding the synergy of your upgrades, and adapting to the unique behaviors of each brainrot, you'll transform your runs from frantic survival attempts into calculated extermination missions. As Facility 67 continues to evolve with updates like the upcoming Alpha 4.0, mastering these advanced techniques will ensure you remain the ultimate resistance against the brainrot invasion. Keep experimenting, keep learning, and keep those brainrots at bay!
This article was compiled by the RoUniverse automation pipeline in April 2026 using publicly available sources and is kept up to date as new information becomes available.
Active I HATE BRAINROT Codes (April 2026)
0 verified codes available for I HATE BRAINROT · 1 unverified
This article was researched and generated using AI tools, then reviewed by the RoUniverse editorial team.