Introduction: Build Smarter, Earn Faster
In Build an ASMR Tower, your income depends on how you place and upgrade your ASMR tools. The official loop is buy, place, earn, reinvest. But many players waste coins on poor layouts or premature upgrades. This guide compares three proven build strategies that maximize your coins per second while keeping your obby playable. Whether you are new or experienced, these tips will help you build a towering income machine.
Three Build Strategies Compared
There is no single best build for every situation. Instead, you should choose a loadout that matches your current coin balance and session length. The three strongest options in the current meta are the Single Block Rush, the Spiral Layout, and the Multi-Tier Tower Farm. Each uses different items from the shop and the Trendy Shop, and each shines at a different stage of your run.
1. The Single Block Rush
When you first start, you have limited coins. The best approach is to buy one Small Block from the shop and place it on a flat surface at your starting platform. Wait until you have enough coins to buy a second tool before splitting your money across multiple cheap items. A single upgraded tool outperforms several weak ones. Your next purchase should be a Platform to place on a different spot. This two-tool setup doubles your income within minutes. Always confirm that the placed tool shows a coin indicator to ensure it is earning. The Single Block Rush is perfect for the first two minutes or when you restart after a bad purchase.
2. The Spiral Layout
Once you have saved a few hundred coins, the spiral layout keeps your obby compact and profitable. Build an L-shaped platform from your base. Place your highest earner, such as a Rainbow Truss from the Trendy Shop, at the far end. Then add a ramp leading upward and place a medium earner like Glass ASMR Keys on the next level. This layout uses vertical space without dead ends. The path remains short so visitors complete it quickly, earning you bonus visitor income. The Trendy Shop also offers Slime ASMR Keys and Keyboard packs that can be placed on ramps for extra earnings. A good spiral uses a Small Block on the bottom, a Platform on the first ramp, and a Rainbow Truss on the top. This keeps the route tight and profitable.
3. The Multi-Tier Tower Farm
For long sessions, build a multi-tier tower by upgrading your tower level. Each level unlocks more item slots and a cash boost. Tools placed within a few platform levels of the base always generate income. Stack platforms two jumps apart, with one high-income tool per level. A proven setup uses a Small Block on the ground, a Platform one ramp up, a Rainbow Truss two ramps up, and Glass ASMR Keys three ramps up. This farm lets you quickly afford expensive tools from the Trendy Shop, such as WYR doors and limited-time items. Adjust the order based on your current cash. Remember to use the Teleporter to test routes and ensure your obby is playable.
When Each Build Works Best
The Single Block Rush is ideal for the first two minutes or when restarting. The Spiral Layout shines in the mid-game with 500 to 2,000 coins saved. The Multi-Tier Tower Farm is best for sessions over 20 minutes when you want to build tall and attract visitors. Always check your coin count before expanding. If you have less than 500 coins, stick to the beginner rush. For AFK farming, set up a simple loop with your highest earners and let the passive cash accumulate. The restock timer on Trendy Shop items resets every ~5 minutes, so check back often for rare items like Rainbow Truss.
Game-Specific Tips for Build an ASMR Tower
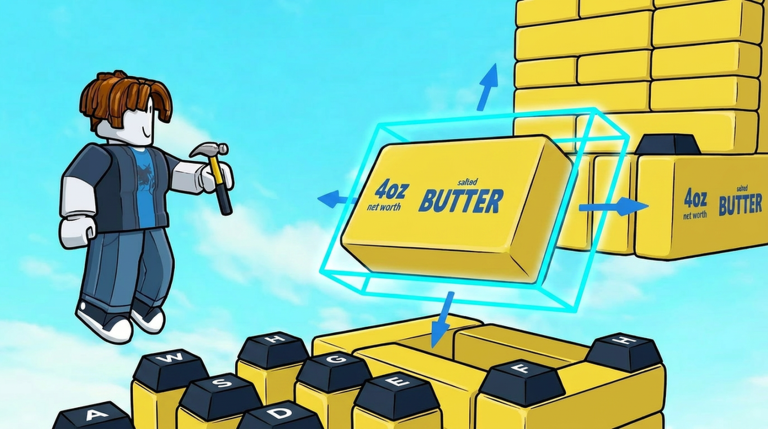
Use the Hammer to equip and place blocks on your plot. Design jumps with wall hops, ball segments, and satisfying keyboard paths. The Paint Bucket lets you customize tower themes like pink lobby, blue glass, green slime, and RGB summit. The Trendy Shop is your source for keyboard packs, WYR walls, and glass or slime ASMR keys. Camp the ~5 minute shop timer for Rainbow Truss and rare Trendy packs. Upgrade tower levels for more item slots and cash boost. Fill every slot with high-income blocks and test routes with the Teleporter. Verify your build is traversable before you invite visitors.
Common Mistakes to Avoid
Many players place tools too close to the spawn, blocking entries. Leave a two-block gap between your first platform and the spawn point. Another mistake is upgrading a tool before you have three income sources. Upgrades are expensive and better saved for late game. Also, never buy a tool without checking its placement. If the tool floats in the air, it may not earn money. Look for the flat, green-tinted blocks that appear when you hover a tool for safe placement. Finally, remember that upgrading your tower level increases item slots and cash boost; prioritize leveling up before buying too many tools.
FAQ
Q: What is the best first tool in Build an ASMR Tower?
The Small Block is the best start because it costs little and earns a steady income. Place it on your starting platform and wait until you have enough coins for a second tool, like a Platform.
Q: How do I unlock more item slots for my tower?
Upgrade your tower level using coins. Each level adds more item slots and a cash boost. Check the upgrade menu to see costs and benefits. Focus on leveling up once you have at least three tools earning income.
Q: Why is my tool not earning coins?
If a tool floats in the air or is placed on a slope, it may not generate income. Look for the flat, green-tinted placement indicator and use the Teleporter to test your route. Also confirm the tool is within the active range of your tower.
Conclusion
The best build for Build an ASMR Tower depends on your current coins and play session. Start with a Single Block Rush, graduate to a Spiral Layout, then expand into a Multi-Tier Tower Farm. Use the Trendy Shop restock timer to grab powerful items like Rainbow Truss, and keep your obby playable with the Teleporter. Follow this strategy and you will climb the tower faster while building a satisfying income engine.
Active Build an ASMR Tower Codes (October 2026)
No verified active codes yet for Build an ASMR Tower; 4 unverified codes are being tracked.