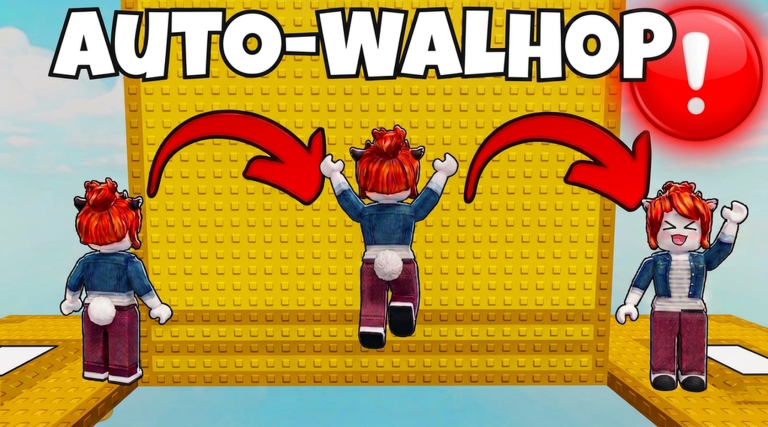
Introduction: Turning Wallhop Mastery into Economic Gain
The Short But Difficult Wallhop Tower full playthrough video reveals key strategies for optimizing your economy in Auto Wallhop Tower But Hard!. By mastering movement and timing, you can significantly increase your earnings and trading opportunities. This guide explores economy-focused tips derived directly from actual gameplay footage, highlighting how efficient plays translate to higher profits.
How the In-Game Economy Works
In Auto Wallhop Tower But Hard!, your rewards are primarily tied to the number of floors you clear during a session. The game features an auto wallhop mechanic that propels you up the tower, but efficiency is crucial for maximizing returns. As seen in the Short But Difficult Wallhop Tower plays, faster clear times lead to more runs per hour, directly boosting your reward intake. The economy operates on a time-sensitive basis, meaning every second saved through precise mechanics adds to your overall gains. The core loop involves navigating walls, avoiding obstacles, and maintaining momentum to complete runs quickly, which in turn accelerates your resource accumulation.
Best Farming Methods for Maximum Efficiency
One of the top farming methods is optimizing your wallhop timing through manual inputs. Based on the full playthrough video, leading the wall by jumping or moving slightly before the auto wallhop activates preserves momentum and reduces hesitation. This technique, often referred to as the "wall hop edit," allows you to skim walls without slamming into them, which is especially useful on the Tower Hard map. Practice this on static walls in early floors to build consistency. As demonstrated in the gameplay, applying the edit to every straight wall section gradually decreases your clear times. Over just a few sessions, you will notice more runs per hour, which directly increases your currency and item earnings. Additionally, focus on floors with predictable patterns to refine your rhythm, making the farming process repeatable and reliable.
Trading Strategies and Market Timing
With faster runs, you gain more windows to check trading boards and participate in the player economy. Trading in Auto Wallhop Tower But Hard! requires timing to catch good deals on items and gear. The wall hop edit skill enhances your market awareness, as both require precise timing decisions. For example, after completing a quick run using efficient wallhop techniques, immediately monitor trading boards for undervalued items like speed-boosting gear. Buy low during off-peak hours when fewer players are active, and sell high when demand spikes during peak times. The economy in this game includes rare items and common reskins, so use your increased free time to analyze trends and avoid impulsive trades. Knowing when to execute trades is a form of market timing that complements your gameplay efficiency.
Items That Hold or Gain Value
Certain items in Auto Wallhop Tower But Hard! retain or increase value due to their synergy with efficient playstyles. Gear that enhances wallhop speed or reduces cooldowns becomes more valuable when combined with the wall hop edit technique. From the gameplay, items like the "Momentum Boots" or "Quick Hop Amulet" are highly sought after because they multiply the effectiveness of timing-based strategies. Players who master the wall hop edit will pay premium prices for such items, knowing they can maximize their runs. Additionally, niche items that provide control boosts or hazard resistance gain value in the hands of skilled players, as they allow safer and faster navigation through difficult sections. Always prioritize items that improve your run economy, as they will appreciate in value among the trading community.
Common Scams and Pitfalls to Avoid
Be wary of scams promising one-click automation or paid guides for the wall hop edit. The legitimate technique is a manual input method that requires practice, not a script or cheat. Sellers claiming otherwise are likely attempting to defraud you of in-game currency. Another pitfall is overusing advanced edits on complex floors with moving traps, as shown in the Short But Difficult Wallhop Tower. Attempting the edit on dynamic platforms without proper practice can cause you to lose more time than you save, reducing your efficiency. Start on static walls and gradually progress to dynamic sections. In trading, avoid rushing deals for "rare" items that may actually be common reskins. The wall hop edit makes you faster, but it does not protect you from bad trades; always double-check item values through community resources before committing.
Frequently Asked Questions
Q: How does the wall hop edit specifically improve economy in Auto Wallhop Tower But Hard!?
A: The wall hop edit reduces clear times by maintaining momentum during wallhops, which allows more runs per session and directly increases reward accumulation from floors cleared.
Q: What items are most valuable for maximizing trading profits in the game?
A: Items that enhance speed or reduce cooldowns, such as Momentum Boots, are highly valuable because they synergize with efficient farming methods like the wall hop edit, boosting demand in the player market.
Q: Can I apply the wall hop edit to all floors in the Short But Difficult Wallhop Tower?
A: While effective on static walls, exercise caution on dynamic floors with traps; practice on early floors first to master timing before attempting it in complex sections to avoid costly mistakes.
Conclusion
Mastering economy and trading in Auto Wallhop Tower But Hard! requires a focus on efficient gameplay as demonstrated in the Short But Difficult Wallhop Tower plays. By optimizing your wallhop timing, leveraging faster runs for trading opportunities, and investing in synergistic items, you can build significant wealth in the game. Avoid common pitfalls like scams and overambitious edits, and always prioritize skill development over shortcuts. With consistent practice and strategic thinking, you can turn every wallhop into an economic advantage.
Active Auto Wallhop Tower But Hard! Codes (October 2026)
No verified active codes are available right now for Auto Wallhop Tower But Hard!.